- September 28, 2023
- in Dryer Vent Cleaning
- by Air Duct Cleaner, LLC
- 1025
- 0

Cleaning Your Dryer Vent: A Safety Priority
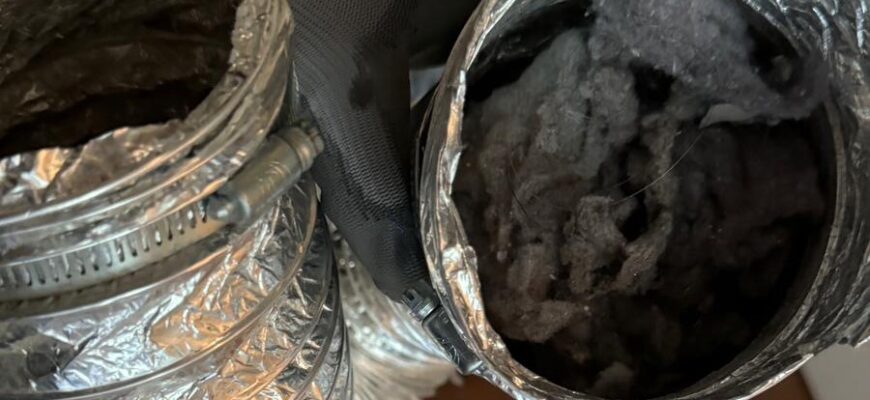
Regular dryer vent cleaning is essential for maintaining safety and efficiency in your home. Lint and debris build up over time, restricting airflow and increasing the risk of overheating. This not only results in higher energy bills but also poses a serious fire hazard, as lint is highly flammable. Clogged vents are one of the leading causes of home fires. Following this guide ensures your dryer operates safely, efficiently, and lasts longer.
Why Replace Dryer Vent Hoses?
In addition to cleaning, replacing the dryer vent pipe or flexible hose is crucial for maintaining airflow and preventing hazards. Older hoses made of plastic or foil can kink, crush, or clog easily, increasing the risk of overheating. Switching to modern, durable vent pipes enhances safety and efficiency.
Learn more about when and how to replace dryer vent hoses by visiting our Services Page.
Step 1: Turn Off the Dryer
Unplug your dryer for safety before beginning.
Step 2: Access the Vent
Locate the vent at the back of your dryer and disconnect it by loosening clamps or screws.
Step 3: Inspect the Vent
Look for lint buildup, blockages, or damage in the venting system. Check both the dryer-side vent and the exterior vent.
Step 4: Clean the Vent Duct
Step 5: Clean the Exterior Vent
Remove the exterior vent cover, clear out debris, and ensure the cover flaps work properly.
Step 6: Check for Obstructions
Inspect for any bird nests or large debris blocking airflow.
Step 7: Reconnect the Vent Pipe
Securely reconnect the vent pipe to the back of the dryer, ensuring no gaps or loose connections.
Step 8: Test the Dryer
Plug the dryer back in, run it for a few minutes, and check the exterior vent to confirm smooth airflow.
Step 9: Schedule Regular Maintenance
Clean the dryer vent at least annually or more frequently if drying times increase or lint buildup is visible.
For examples of successful cleaning projects, visit our Projects Page.
Comprehensive Services
We use advanced tools to thoroughly clean and inspect your dryer vent system.
Expert Replacements
Our team replaces old or damaged hoses with UL-approved vent pipes for better safety and performance.
Customer Satisfaction
We back our services with a two-month warranty for your peace of mind.


