How to Clean a Dryer Vent: A Step-by-Step Guide for Safety and Efficiency
Introduction
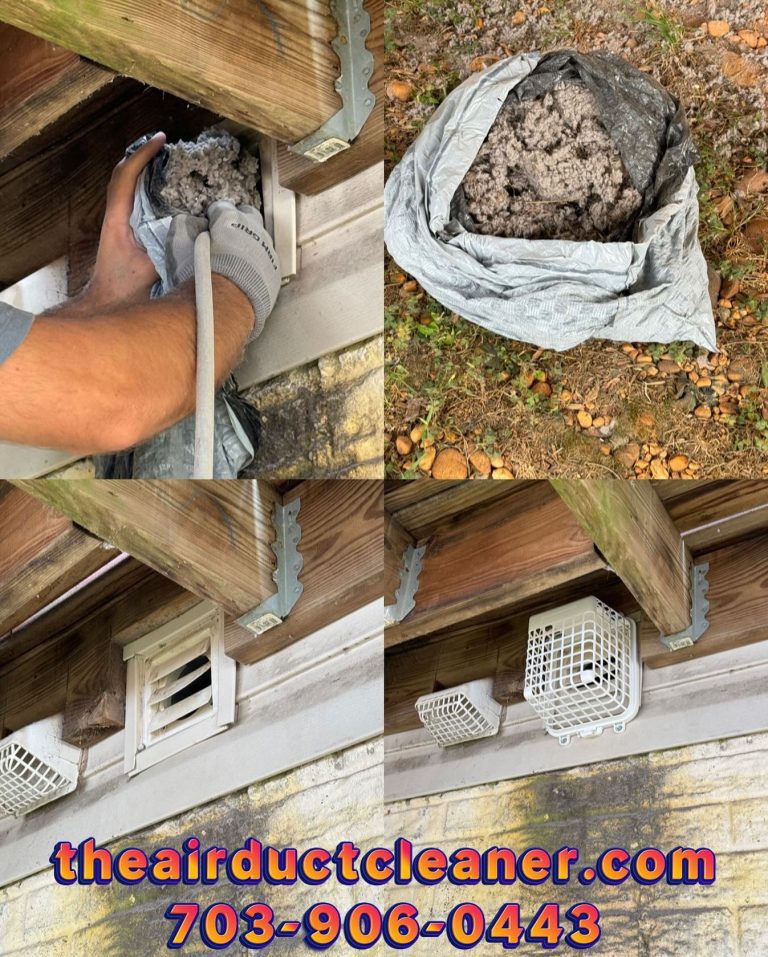
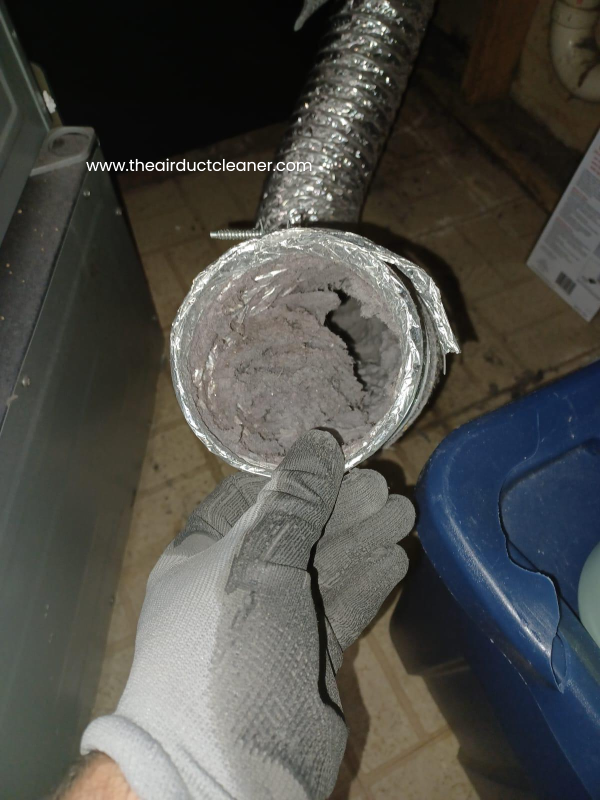
Regular dryer vent cleaning is essential for both safety and efficiency. Over time, lint and debris accumulate in the vent, reducing airflow and causing the dryer to overheat. This not only increases energy consumption and drying times but also poses a significant fire hazard, as dryer lint is highly flammable. In fact, clogged vents are one of the leading causes of home fires. By regularly cleaning your dryer vent, you can ensure that your dryer operates safely, efficiently, and lasts longer. Feel free to learn more about the importance of dryer vent cleaning.
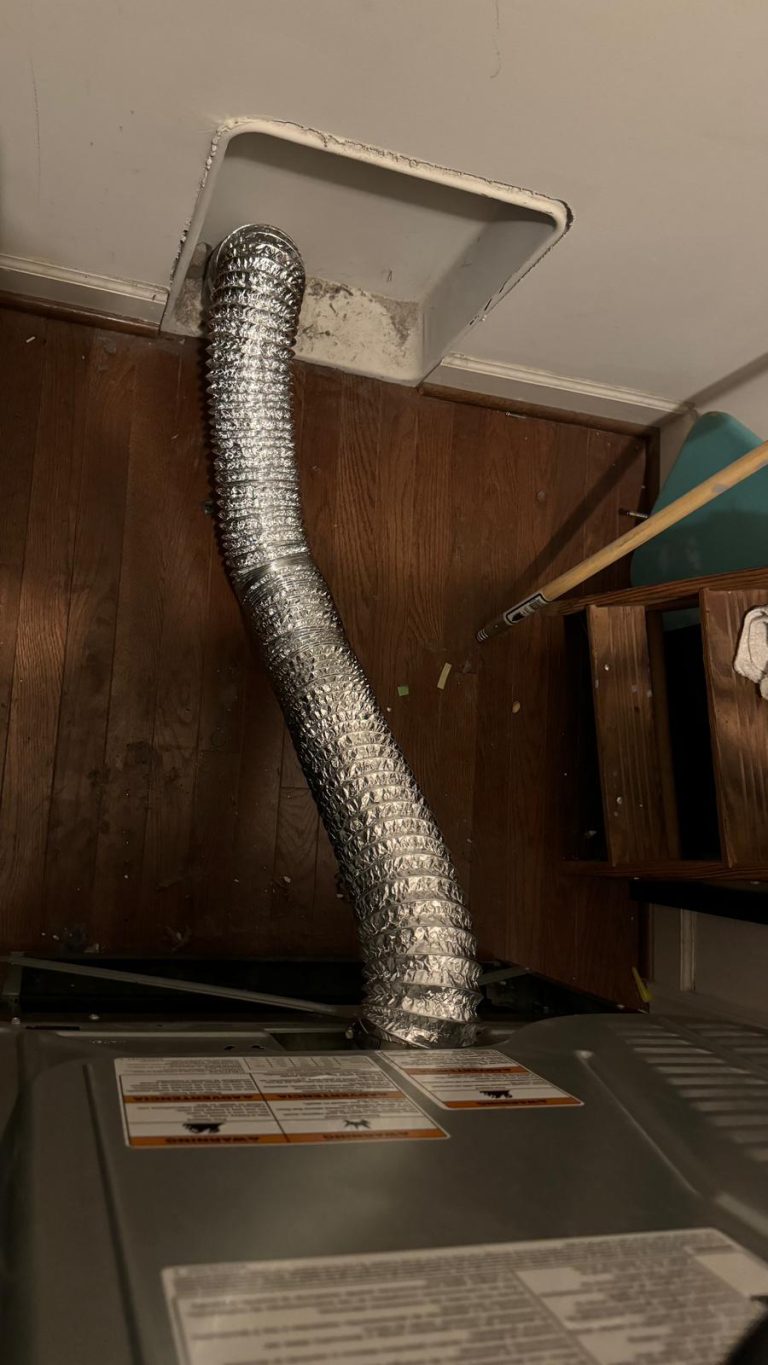
In addition to regular cleaning, replacing the dryer vent pipe or flexible hose is crucial for maintaining proper airflow and preventing potential hazards. Older hoses—especially those made from plastic or foil—can become kinked, crushed, or clogged over time, further restricting airflow and increasing the risk of overheating and lint buildup. For more information, check out our guide on when to replace your dryer vent hose.
Step-by-Step Dryer Vent Cleaning Guide:
- Turn Off the Dryer
- Before starting, ensure that the dryer is powered off. For extra safety, you can unplug the dryer from the electrical outlet.
- Access the Vent
- Locate the dryer vent. It’s typically found at the back of the dryer and leads to an exterior vent.
- Disconnect the vent pipe from the dryer by loosening the clamp or screws holding it in place. Depending on the setup, you may need to use tools like a screwdriver.
- Inspect the Vent
- Examine the venting system for blockages, lint buildup, or any visible damage.
- Check both the dryer-side vent and the outside vent where the air is expelled.
- Clean the Vent Duct
- Manual Cleaning:
- Use a dryer vent brush (a flexible tool with a long handle and bristles) to loosen and remove lint and debris. Push the brush through the vent tubing, moving it back and forth to dislodge any blockages.
- Start at the dryer side and push the brush through the ductwork until it reaches the exterior vent.
- Repeat the process from the exterior vent to ensure both ends are clear.
- Vacuuming:
- Use a vacuum cleaner with a hose attachment to suck out the loosened debris.
- Some professionals use specialized vacuum systems designed for dryer vents that provide stronger suction.
- Rotary Brush:
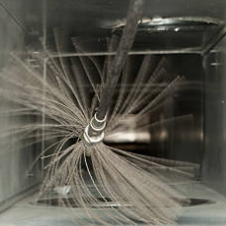
- Attach a rotary brush to a power drill or specialized tool. This brush rotates as it moves through the vent, providing more aggressive cleaning, especially for stubborn lint buildup.
- Insert the rotary brush into the vent duct and slowly work it through the entire length of the vent.
- The rotating motion dislodges compacted lint, dirt, and debris, making it easier to clean out.
- Follow up with vacuuming or manual brushing to ensure the vent is thoroughly cleaned.
- Clean the Exterior Vent
- Go outside to the exterior vent, usually located on the side of the house.
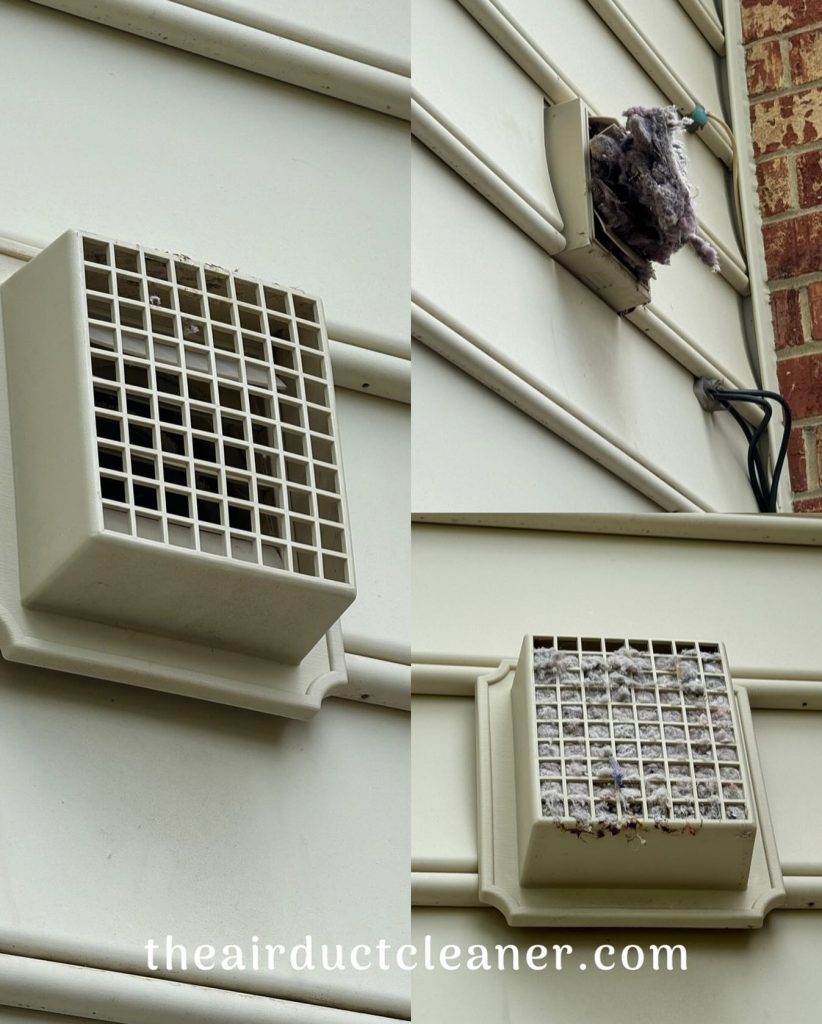
- Remove the cover if necessary and clean any lint or debris that may be stuck in the vent. If the vent cover has a flap or screen, ensure it’s functioning properly.
- Check for Obstructions
- Look for any obstructions like bird nests, rodents, or large debris that could block airflow.
- Remove any items that may be hindering proper ventilation.
- Reconnect the Vent Pipe
- Once the vent and ductwork are clear, reconnect the vent pipe to the back of the dryer.
- Ensure that the pipe is securely attached and there are no gaps or loose connections.
- Test the Dryer
- Plug the dryer back into the power outlet.
- Turn the dryer on and run it for a few minutes to ensure air is flowing smoothly through the vent.
- Check the exterior vent to confirm that air is coming out freely.
- Regular Maintenance
- For optimal dryer performance, it’s recommended to clean the dryer vent at least once a year or more frequently if you notice longer drying times or increased lint buildup.



At Air Duct Cleaner, LLC in Falls Church, VA, we take pride in delivering top-notch dryer vent cleaning services that ensure your home is safe and your dryer operates efficiently. Our team is committed to customer satisfaction, offering thorough cleanings, expert replacements, and a two-month warranty for added peace of mind. We strive to exceed your expectations with reliable service, ensuring your dryer vent system is in optimal condition.
Book an appointment with us today and experience the difference: Schedule Now.
Our Services
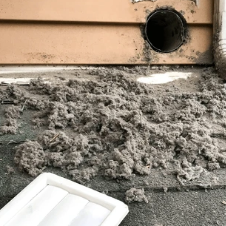

Dryer Vent Cleaning
Our dryer vent cleaning service removes lint and debris buildup, enhancing dryer efficiency, reducing energy costs, and minimizing the risk of fire hazards.
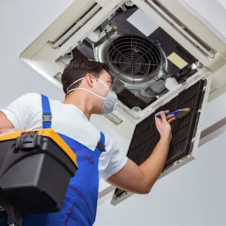

Deep Cleaning
Our deep cleaning service offers a comprehensive and meticulous cleaning of your entire HVAC system, ensuring optimal performance, improved air quality, and a healthier indoor environment.
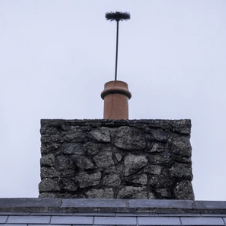

Chimney Cleaning
Our chimney cleaning service ensures the safe and efficient operation of your fireplace by removing soot, creosote, and debris, preventing potential fire hazards, and improving air quality.
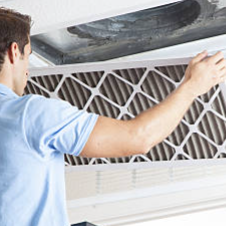

Video Inspection
Our video inspection service utilizes advanced camera technology to provide a detailed and accurate assessment of your ductwork, identifying any issues and ensuring a thorough and effective cleaning process.

Air Duct Cleaning
Using state-of-the-art equipment, we remove dust, debris, and allergens from your air ducts, ensuring the air circulating in your home is clean and safe.

Air Duct Sanitizing
Our air duct sanitizing service uses EPA-approved disinfectants to eliminate bacteria, mold, and other harmful contaminants, ensuring a safer and healthier indoor environment for your home or business.


